You have no items in your shopping cart.


Elesi Blog
Lighting Guides & Interior Design Tips
-
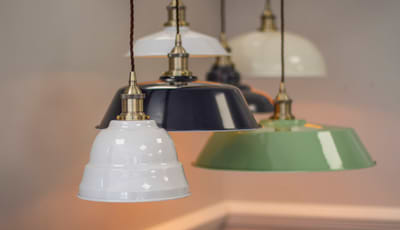
Lighting Design
Lighting design is all about how lighting can guide you through a home, creating an effective lighting strategy to enhance your home. -
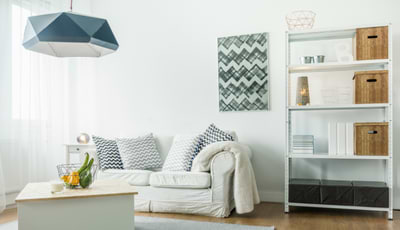
How To Make A Small Room Look Bigger
There are many space saving tips and decor tricks to help give that illusion of a bigger room without increasing your square meterage. -
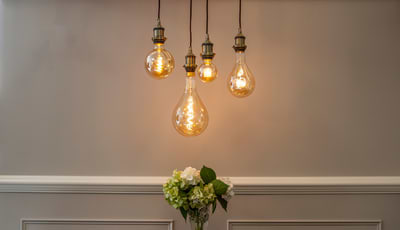
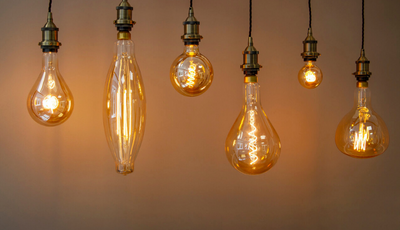
Lumens Vs Watts
We explore what lumens and watts are when it comes to LED lights, why these figures are important and how to compare them both when choosing lights. -
What Are Unswitched Sockets Used For?
There are a variety of sockets on the market including USB sockets, Switched Sockets, Unswitched Sockets and 5 Amp Sockets. This can make the purchase... -
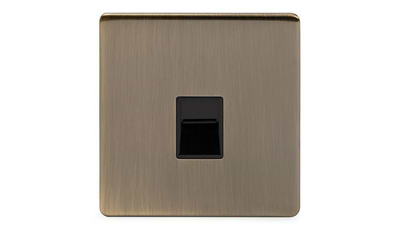
Telephone Sockets Explained
Telephone sockets are one of those things that we all have in our homes. But how much do you know about them and the purpose... -
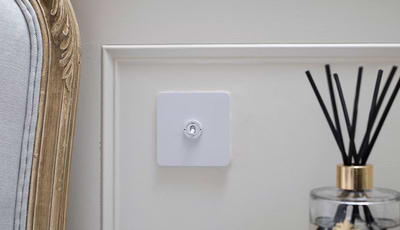
Minimalist Light Switches
Light switches are one of the most appraised, viewed and functional assets in a home. For something that is used and viewed on a daily... -
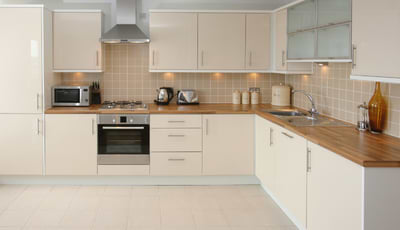
Which Colours Go With Beige?
To give you a better understanding of how this colour can be incorporated into your home, we explore the colours which go well with beige. -
How To Save Money On Your Electricity Bills
Rising gas prices in the UK pose a huge cause for concern for many households as Autumn sets in. Many small energy suppliers are being... -
What Is Galvanised Finish?
We explore what a galvanised finish is on products, how this is done and the benefits of galavinsation.